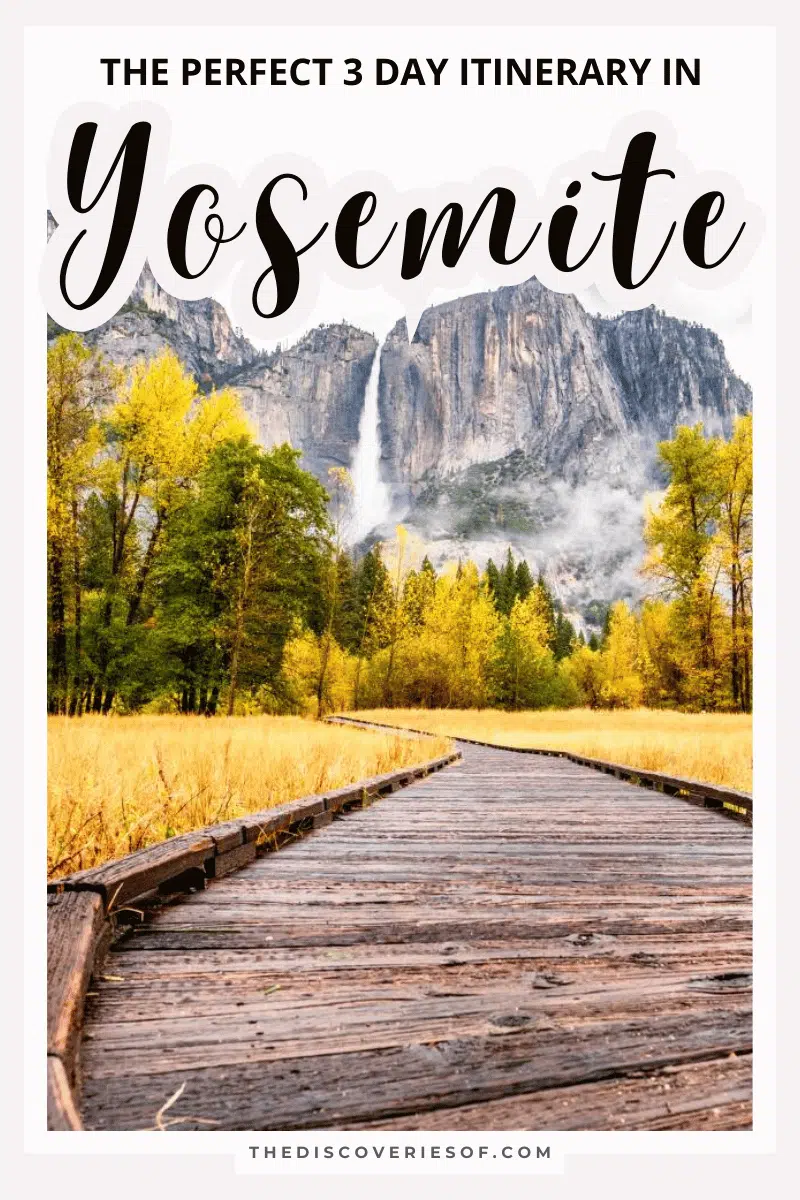
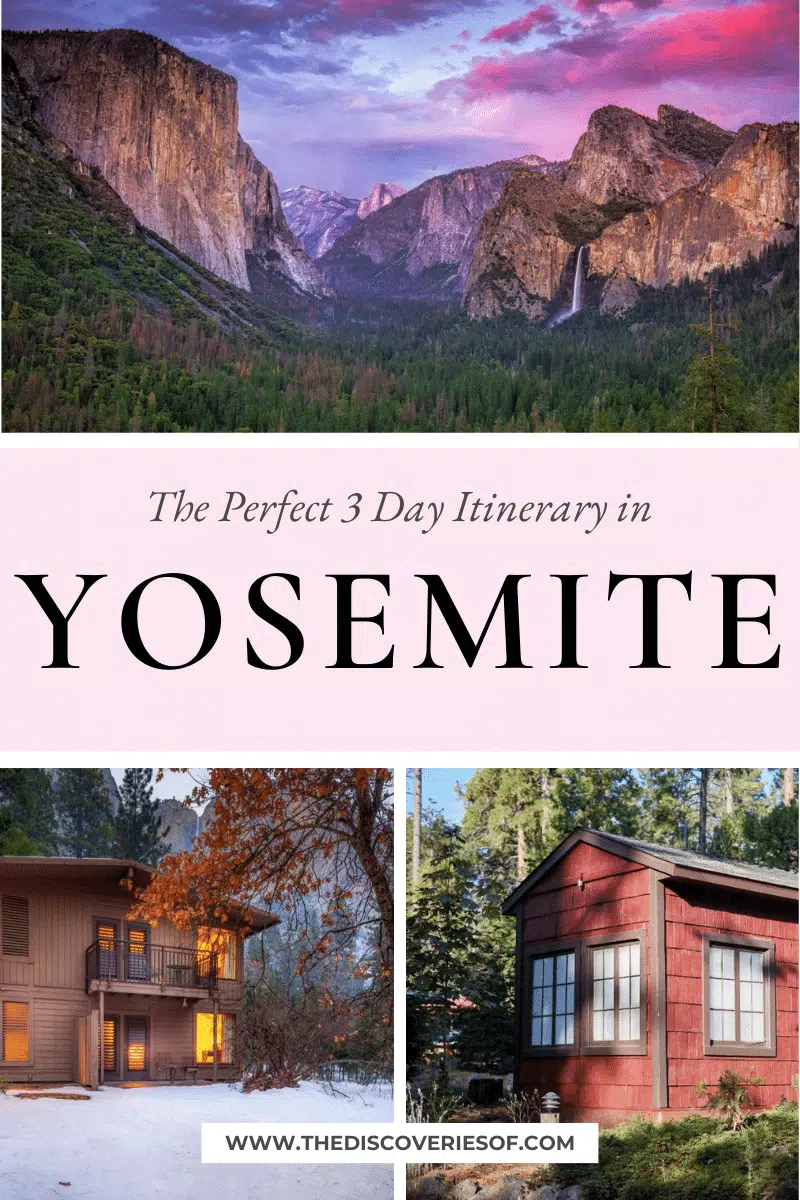
Looking for the ultimate Yosemite itinerary? Don’t miss this guide to the best things to see and do during 3 days in Yosemite, filled with memorable experiences and sights you’ll never forget.
Getting geared up for an unforgettable trip to Yosemite? Well, if you’re reading this, then I’d place all my bets on your trip already being decided on. And, if you’re anything like me, having a well-planned itinerary means the difference between a mediocre trip and a brilliant one.
A definite to include in any California road trip, I headed for Yosemite with one simple goal — indulge in the best things to do and places to see in the national park.
I spent three days in the national park and quickly learned that Yosemite packs an unimaginable amount of things to do. After my trip to the park (which, by the way, spans nearly 3,100 km), it quickly became apparent that this would forever be one of my ultimate adventures.
So allow me to let you in on my little secret… the perfect Yosemite 3-day itinerary.
Before You Go: Handy Tips for Planning Your Yosemite Itinerary
Group Tours or Independent Travel?
Yosemite is a great destination to tackle on your own or with a group of newly-found friends on a tour.
What you ultimately get out of your trip is up to you.
Putting on your solo-adventure boots means you are in total control of the how, when, what, and where of your trip. Whereas having your Yosemite experience accompanied by a group is sure to deliver moments that will last a lifetime – it also takes the stress out of planning the full itinerary.
Not sure where to start looking for group tours? Don’t fret – I’ve taken many a group excursion in my years as a traveller, so I’d like to think I know a thing or two.
One of my top picks includes G Adventures – in particular, this 16-day USA road trip on Highway 1 through Yosemite and Utah. Taking you down the infamous Highway 1, this tour highlights everything Yosemite has to offer and includes stunning must-visit spots in Utah as well.
Another excellent option is this tour, which combines Yosemite’s hikes with surfing in California in an affordable 6 day road trip.
Discover the full range of USA Road Trips offered by G Adventures here
What to Pack for Your Yosemite Itinerary
An essential part of any noteworthy trip is what you decide to bring along for the journey. For this 3-day itinerary in Yosemite, be sure to pack appropriately.
As Yosemite is host to numerous eye-catching sights and hiking trails, plan your packing with these in mind. Here are a few of my road trip essentials:
- The perfect pair of hiking boots – this is a non-negotiable when it comes to Yosemite.
- When heading out on the many trails in Yosemite, the right backpack makes the world of difference.
- For those extra sunny days, remember a hat and sunscreen.
- Choose the right jacket for your trip. I’d recommend at least a light jacket like this one to keep those brisk mountain breezes at bay.
- Pack your camera – trust me, Yosemite overflows with snap-worthy moments.
Where to Stay in Yosemite
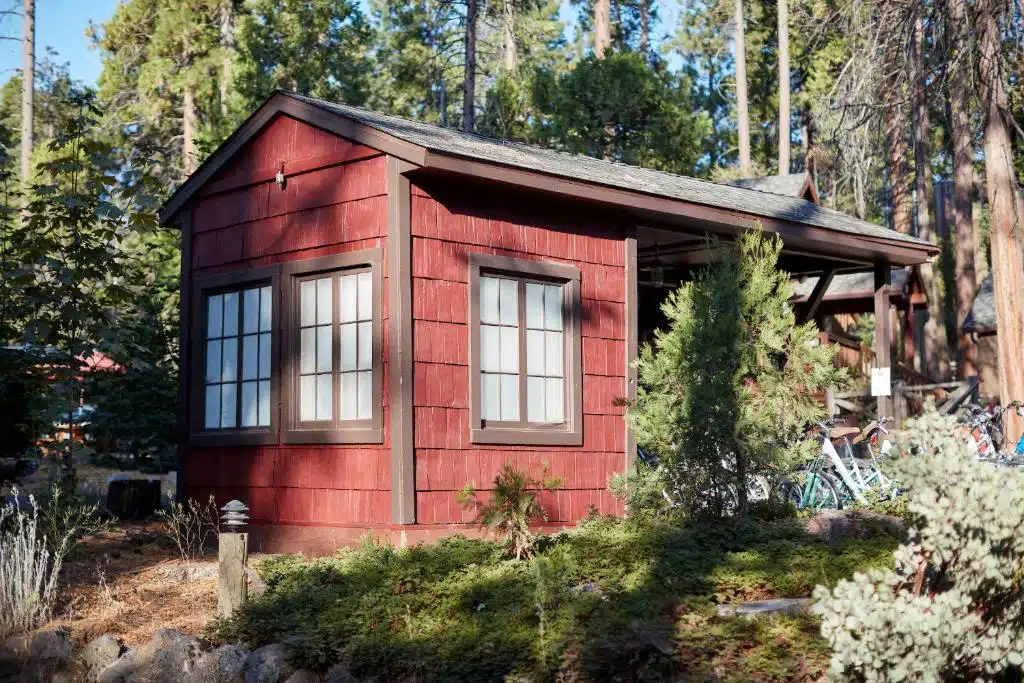
Evergreen Lodge
A rustic and timeless-featured place to stay in Yosemite, the lodge offers several beautiful wooden cabins to choose from. It sits right outside the park’s border, thus giving you the perfect retreat for your three-day Yosemite itinerary.
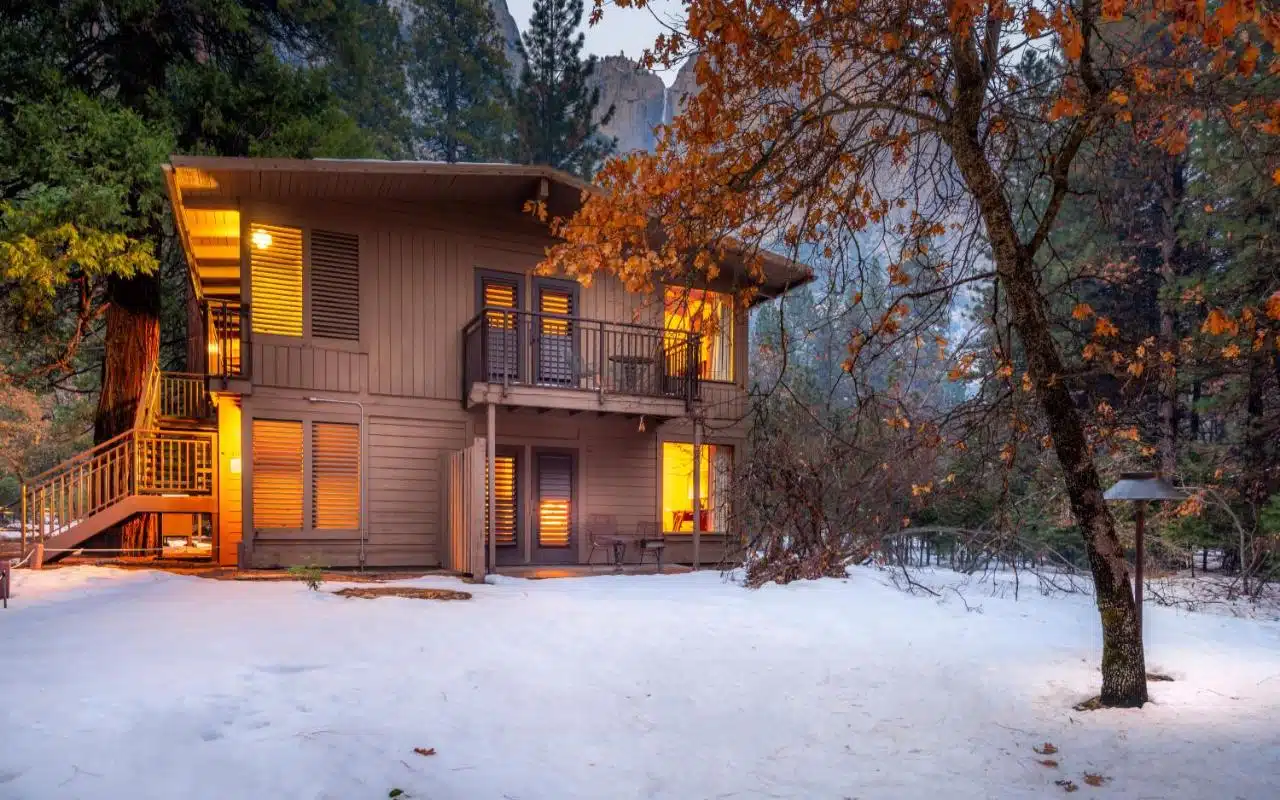
Yosemite Valley Lodge
Set within walking distance of the iconic Yosemite Falls, this eco-friendly hotel has a wide selection of rooms. Designed with a contemporary look and feel, Yosemite Valley Lodge is perfect if you’re spending a few days in the park.
Useful Resources for Yosemite
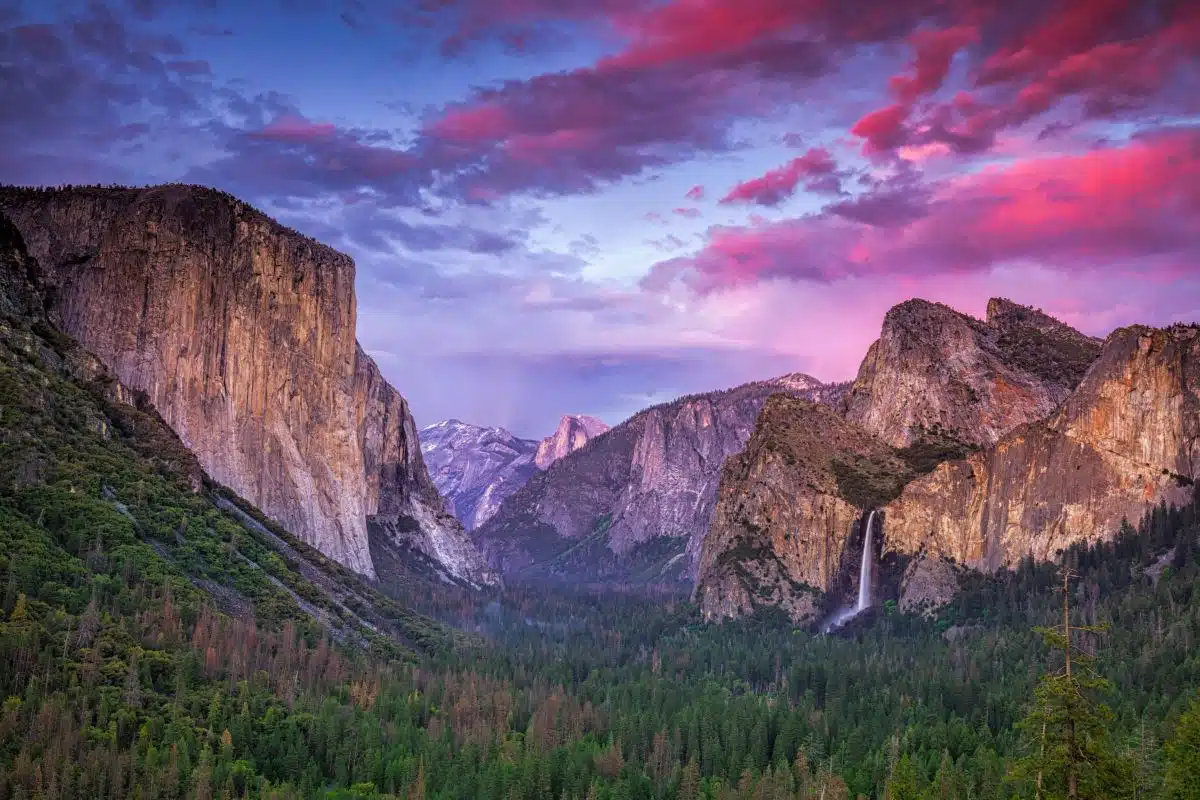
To make your Yosemite 3 day itinerary as comfortable as possible, I recommend using the following travel resources.
Getting to Yosemite
Luckily, Yosemite National Park is located quite close to three airports, each having roughly an hour to two hours of travel time from the respective airports to the park.
- Mammoth Yosemite Airport (MMH) – Located 67km from Yosemite, ideal for local flights.
- Fresno-Yosemite International Airport (FAT) – 102km from Yosemite, perfect for international flights.
- Merced Airport (MCE) – Situated 114km from Yosemite, great for local flights and a less busy terminal.
Check flights to Yosemite on Skyscanner
Information about Yosemite
The National Parks Service website is a great resource to get a holistic view of everything the national parks throughout the US have to offer. From weather warnings to bear sightings and adjusted trails, this is the place to find the most up to date information on Yosemite.
I recommend bookmarking it on your phone and checking for updates each morning before you set off for the day.
Accommodation in and around Yosemite
Whether you prefer to stay in luxury hotels, cosy apartments, or love to rough it and rock up a tent, there are so many options for accommodation in Yosemite. To find the best deals on accommodation in and around the park I recommend one of the following accommodation booking services:
- Booking.com
- Airbnb
- Plum Guide (There are no properties in Yosemite itself, but plenty to choose from if you’re planning to take day trips).
Tour Providers
From guided hikes to jeep tours of the park, embarking on a tour can be a great compromise if you want to plan your own Yosemite trip itinerary (or steal mine!), yet still have some of the trickier aspects ironed out by experts. Some of the best places to look for Yosemite tours are:
- Get Your Guide – Book some of the best tours planned by experts.
- ViaTour – A TripAdvisor company that features some really great tours.
Getting Around in Yosemite
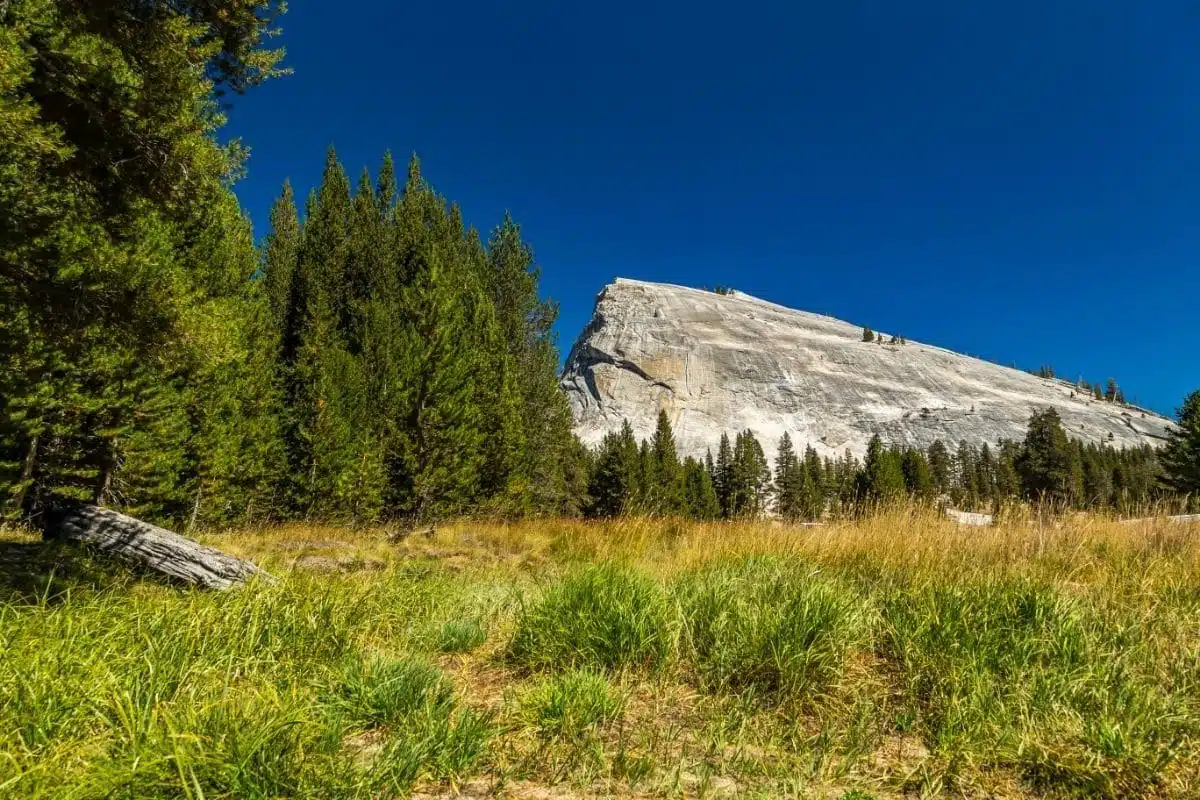
During my trip, I found two primary ways of getting around once inside the park.
Yosemite aims to get visitors genuinely immersed in nature, and thus there are many cycling routes throughout the park – these are perfect for summer trips. As are the abundance of hiking trails.
Beyond cycling through the park, the best way to get around is by car. Taking note of the road closures in the park is crucial. When renting the perfect car for this trip, there are a few reliable rental agencies you can choose from.
The Perfect 3 Days in Yosemite Itinerary
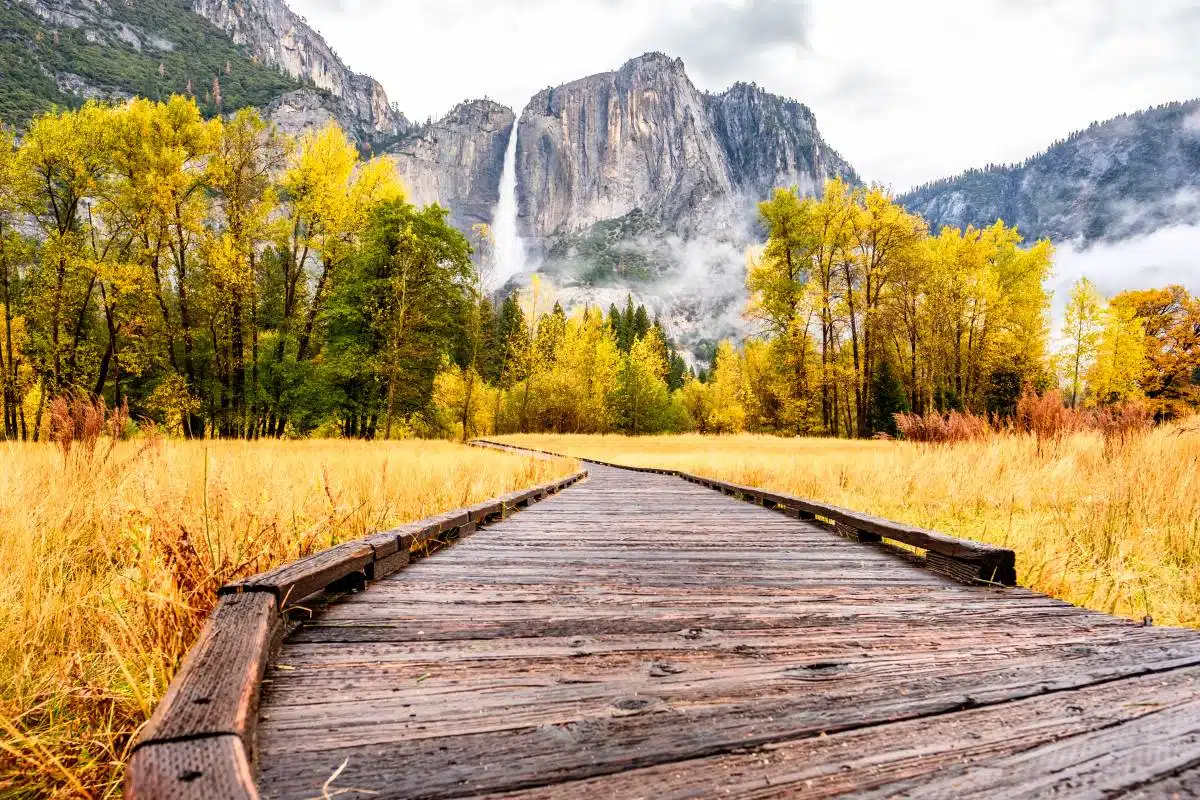
Day One Yosemite Itinerary: Yosemite Valley + El Capitan
Find Your Bearings at Yosemite Valley
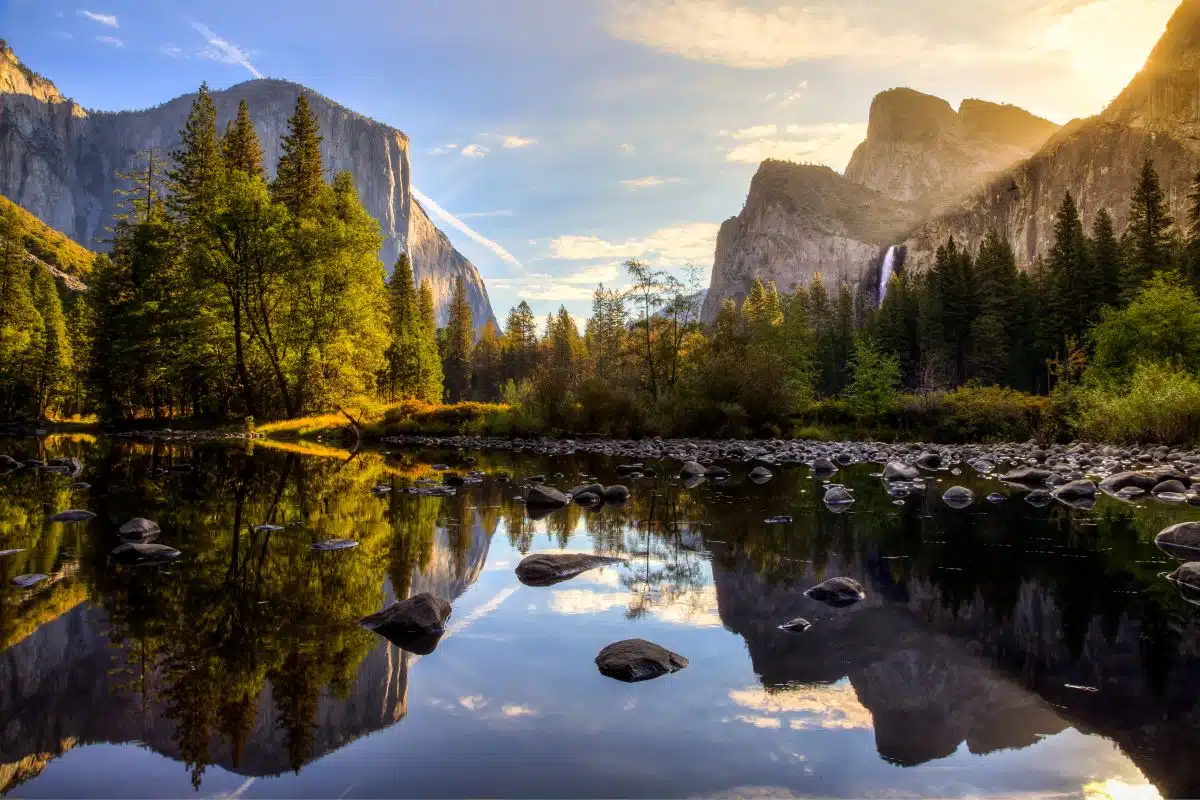
Spanning roughly 12km and running between 900 and 1000m deep, Yosemite Valley is where your perfect adventure starts. The most iconic parts of the park are nestled within and the best way to see it all is on a Valley Orientation Tour.
This is where you’ll find stunning views of some of the massive summits the park is known for. These include Half Dome and El Capitan. But, the valley is also the site of several of the breathtaking waterfalls in the park, the crown jewel being Yosemite Falls.
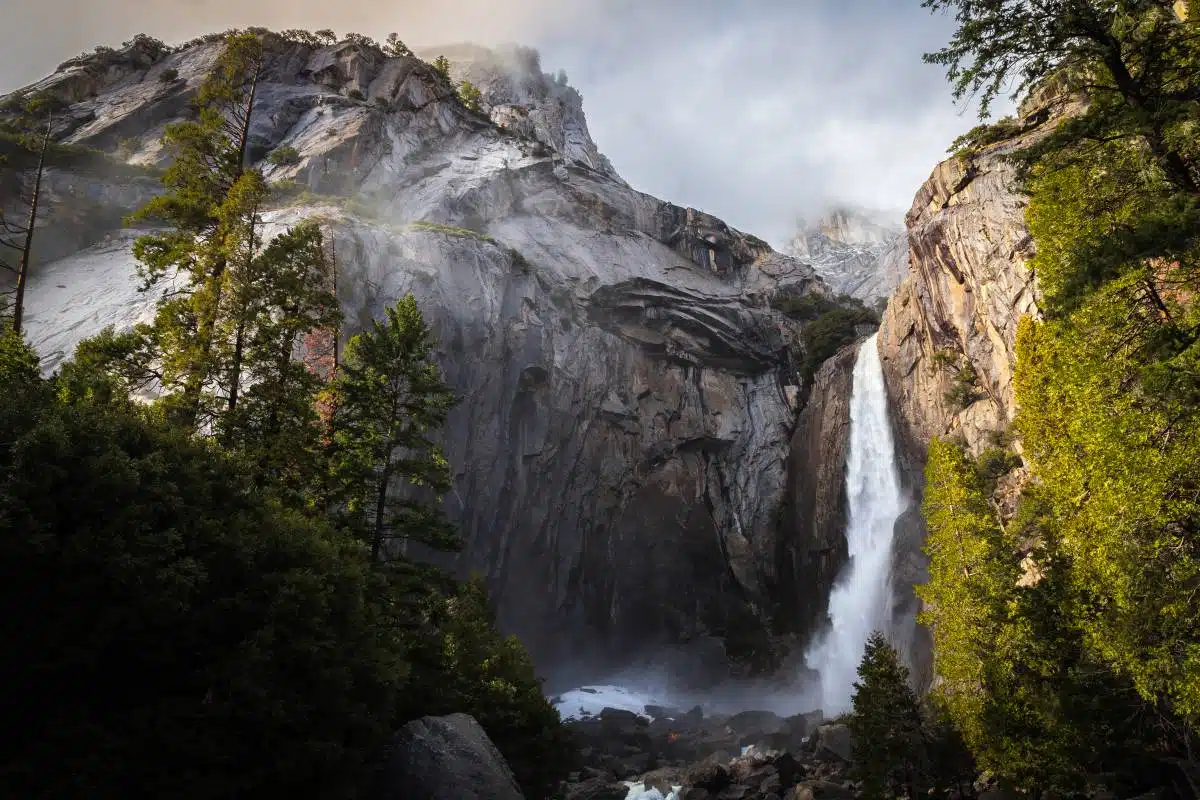
Catch a Glimpse of Yosemite Falls
An absolute essential for any Yosemite Valley Tour is getting the perfect views of Yosemite Falls. The best bit? You don’t really even need to go to great lengths to see the falls – there’s no laborious hike or scramble up a mountain needed to find this beauty.
Yosemite Falls is the highest waterfall in North America, so making your way through the valley guarantees views of the natural wonder during your entire trip.
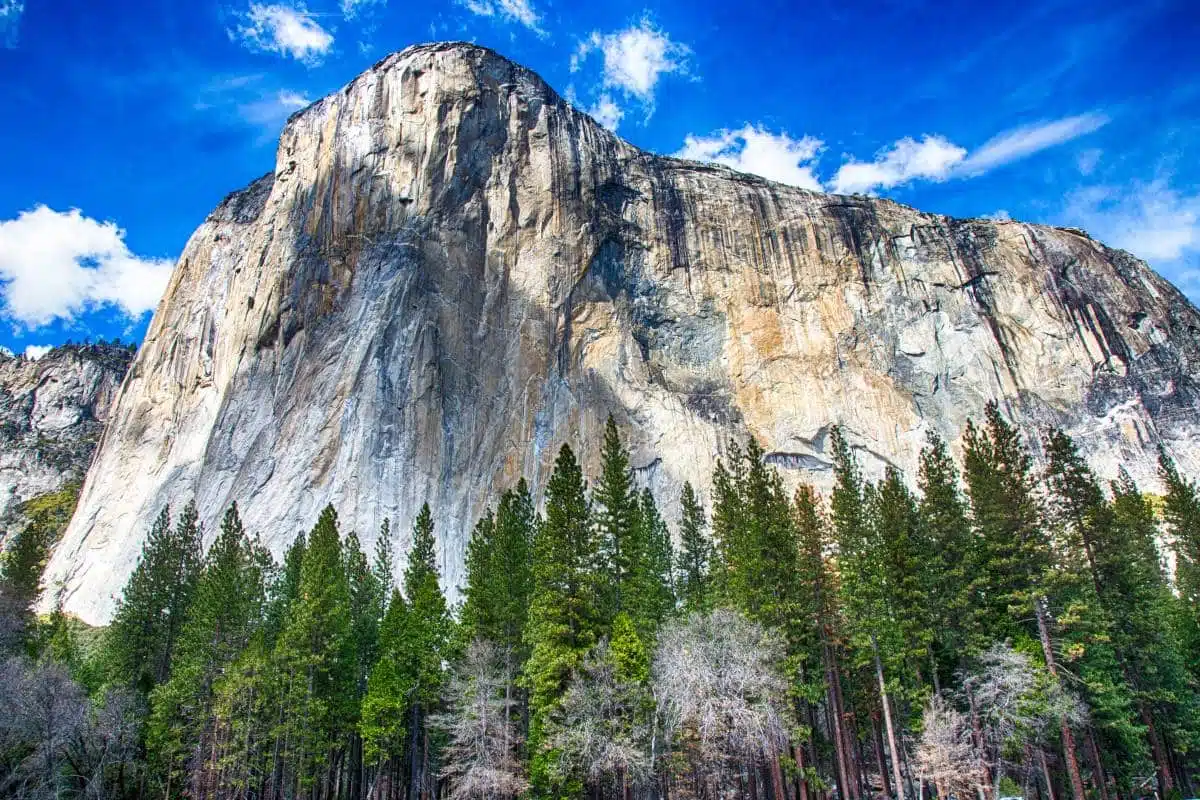
Ascend El Capitan
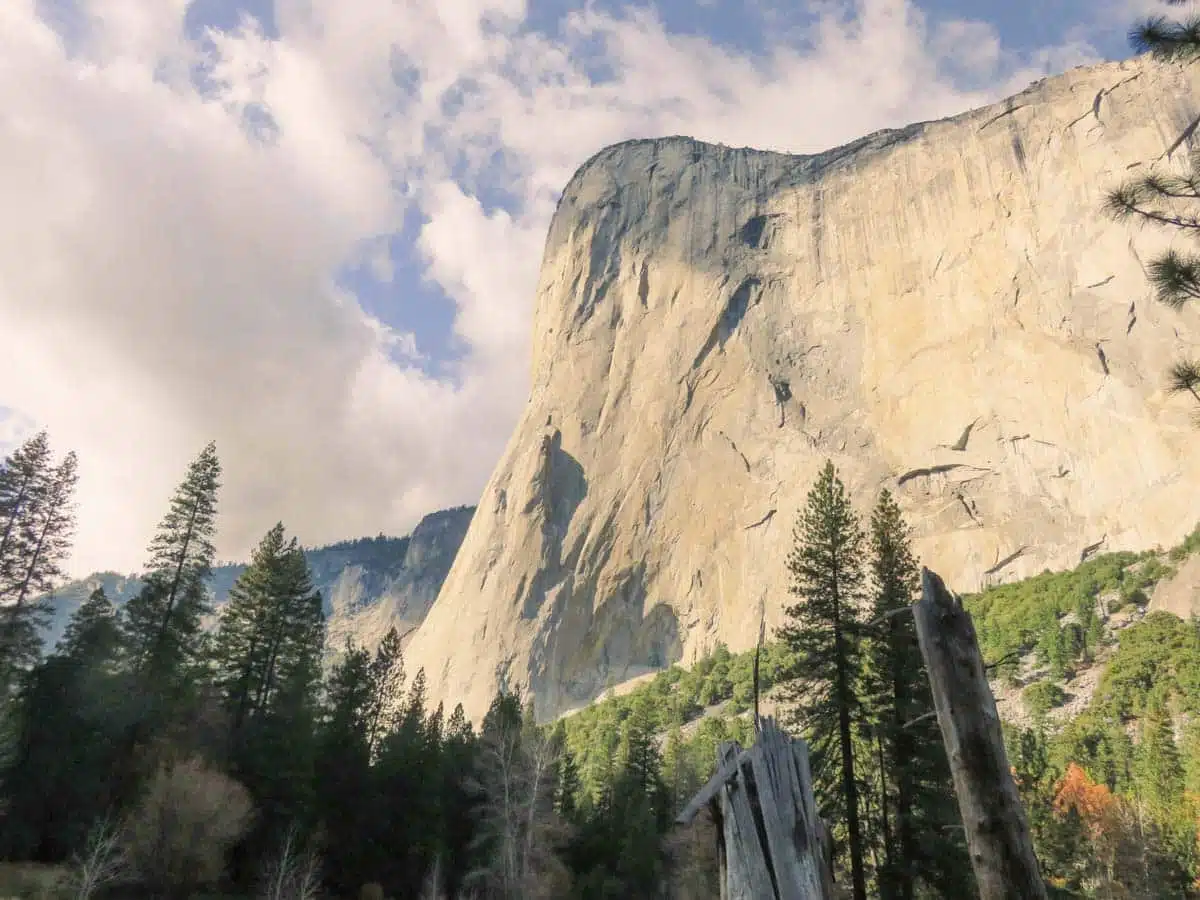
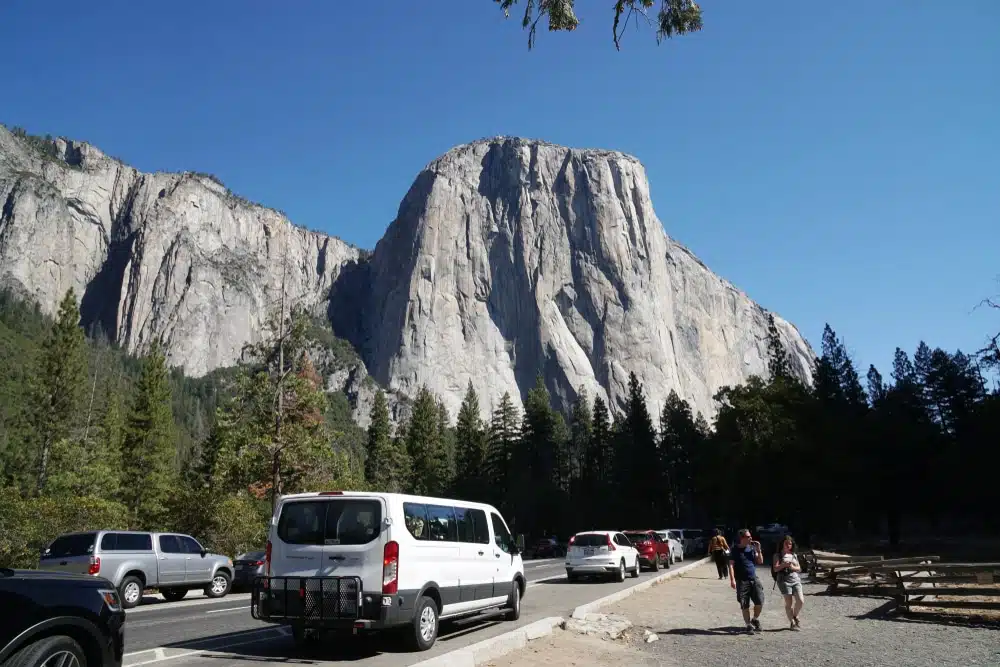
Sitting firmly on the northern side of Yosemite Valley is the legendary El Capitan. Although it is about 900 metres of sheer rock face, it actually towers out over Half Dome by 300 metres.
What makes El Capitan even more incredible as part of your Yosemite Valley Hiking Tour is the fact that you can walk (yes, walk) right up to the side of the mountain. Get those perfect Instagram-worthy selfies with El Capitan as the backdrop and then descend as the sun sets over your first day in Yosemite.
Day Two Yosemite Itinerary: Mariposa Grove and Wawona
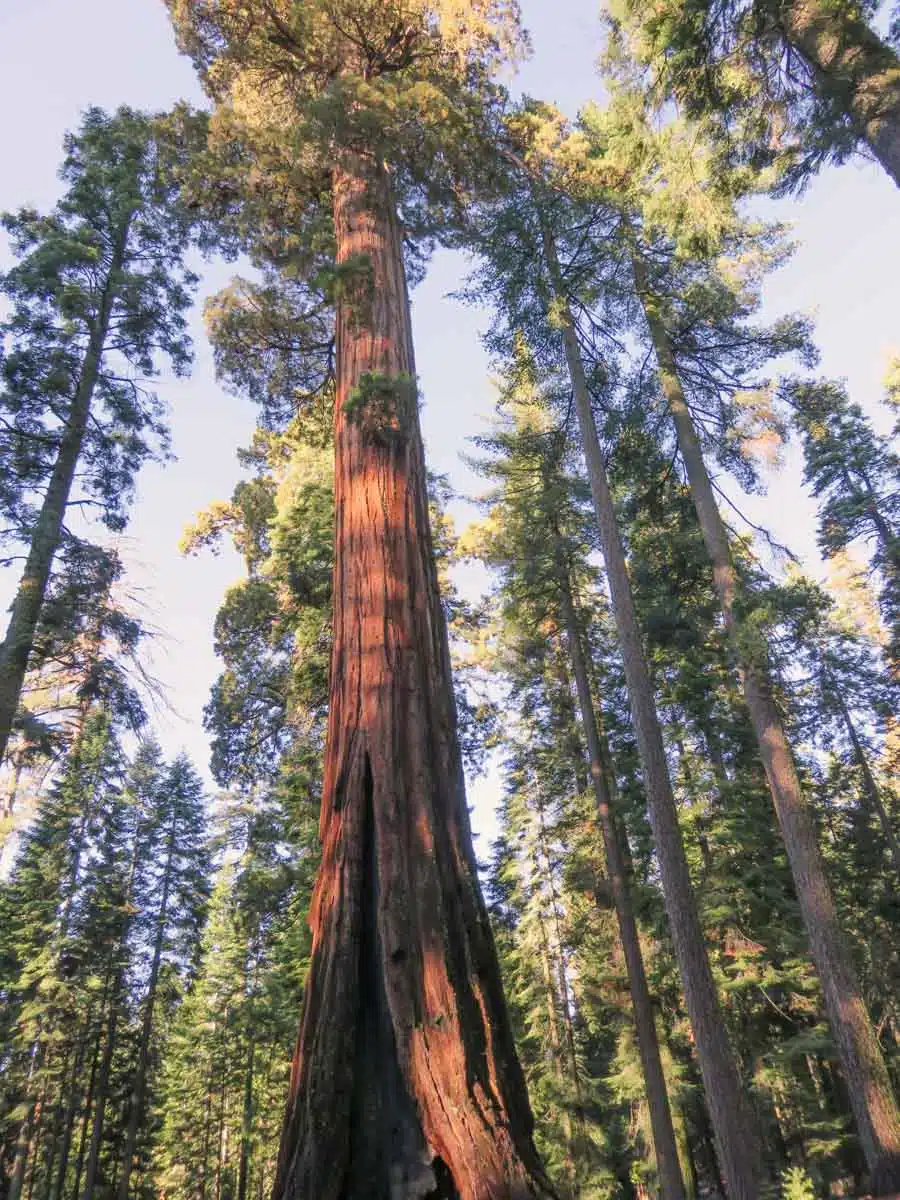
Spot the Grizzly Giant in Mariposa Grove
What’s so special about trees, I hear you ask? If you’ve ever mindlessly scrolled through your social media feeds, chances are you’ve seen the giant sequoia trees of Yosemite.
Mariposa Grove is situated in the southern parts of the national park and hosts a whopping 500 of these beauties.
It’s a true nature lover’s paradise as the grove features an amazing park and giant sequoias hike. The trees in the forest seem to be timeless, and some are estimated to be more than 3,000 years old.
Two of the most prominent giant sequoia trees you’ll find in Mariposa Grove are the Grizzly Giant and California Tunnel. Both are magnificent to behold, and standing at the foot of these beasts is a surefire memory in the making.
Hike the Famous Mist Trail
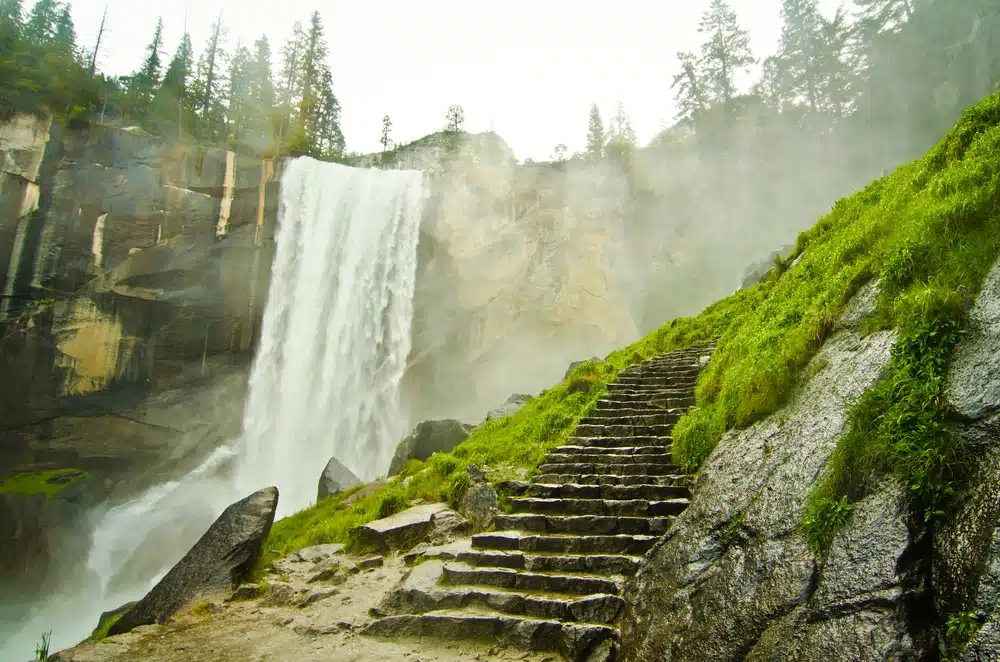
Taking around two hours to complete, the three-mile Mist Trail is one of my most recommended hikes in Yosemite. Not only is this an easy-moderate walk that doesn’t involve much in the way of elevation gain (your calves will thank me later), but it still boasts miles and miles of pretty views.
This hike starts at Happy Isles (where you’ll find Mirror Lake) near Curry Village and ends at Glacier Point Road. But don’t be too tempted to take on the hike to Glacier Point yet, I’ve saved that for tomorrow.
From the trail, you’ll be able to spot the Merced River – which makes it a great place for bird watching or practising your nature photography skills.
Hoick Yourself Up to Wawona Point
The most famous viewing point in Mariposa Grove is Wawona Point. It sits at the end of a very strenuous hike which is about 11km as a round trip, and at an elevation of 365 metres, the climb is rather intense.
But with great challenge comes epic rewards. From my own experience, making the hike to Wawona Point is worth every step. Besides taking you past nearly every tree in the forest at the climax, you get unprecedented views.
Visit the Wawona Historic Village
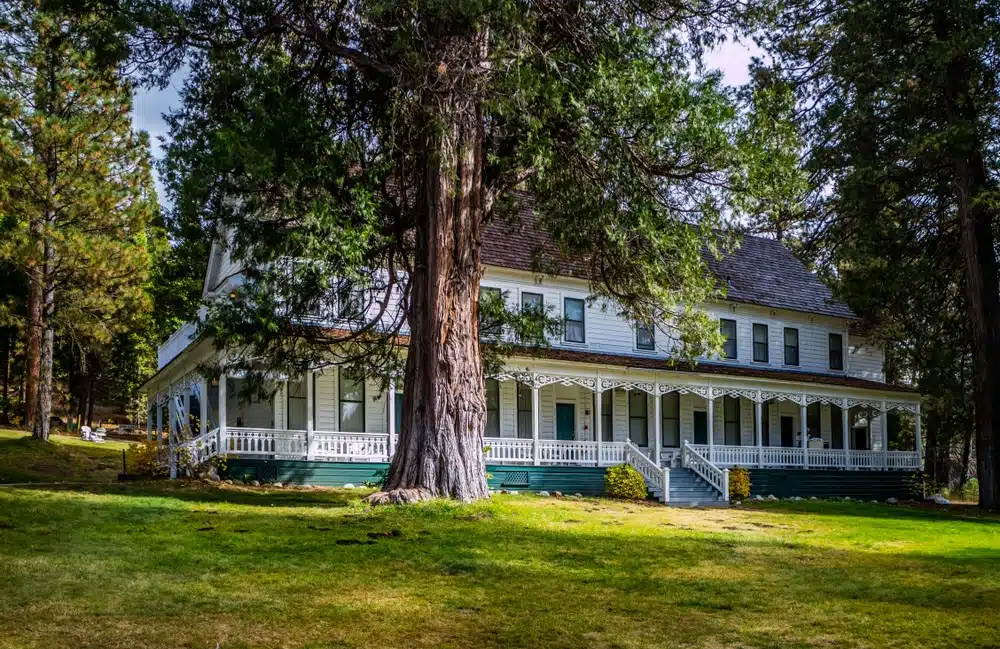
This hidden gem in the southernmost part of the park is Wawona Village. Constructed in the 1800s, the centrepiece is the Wawona Hotel which still operates today. And while the years have passed, almost every inch of the village and hotel have been kept the same.
Any day trip to the park featuring the village and Wawona hotel is an absolute must if you’re a history buff like me.
Day Three Yosemite Itinerary: Half Dome and Glacier Point
Spot the Domes
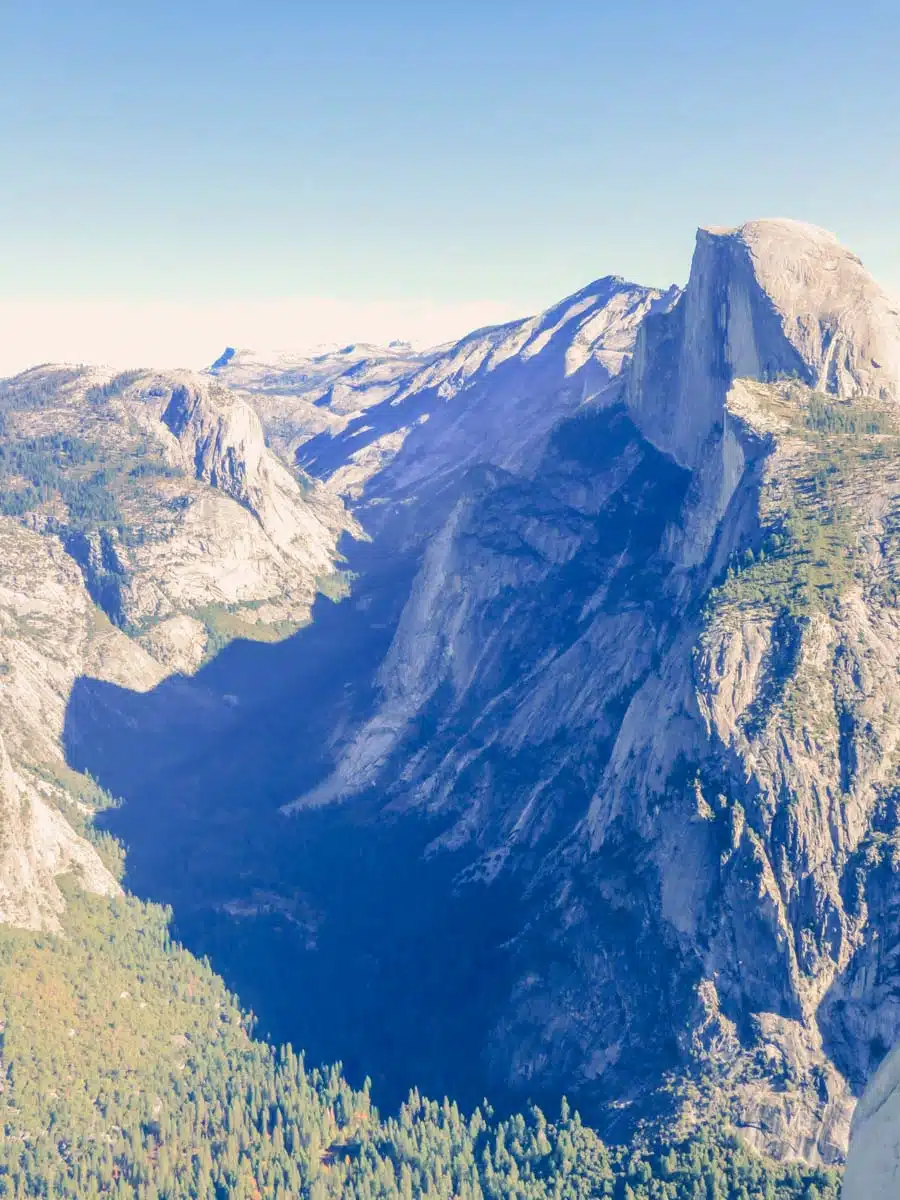
Coming to Yosemite without visiting the Half Dome and North Dome is akin to visiting Venice and not riding a gondola – technically legal, but it just feels so wrong.
While you don’t need to hike up them, it can make for a great experience. Fair warning, this is time-consuming and so you should feel free to skip if you want to make the most out of your three days in Yosemite.
With a view that offers panoramic scenes of the entire Yosemite, the challenging North Dome trail is approximately 10 miles long and can take up to 5 hours to complete.
Starting at Tioga Road, the trail delivers unparalleled views of specifically the face of Half Dome. The trail is steep in some areas, and due to quick weather changes, the trail can be dangerous. But if you get the chance to tackle it – do it.
For the Half Dome hike, you’ll need the correct permits and experience – and don’t try to hike it without a guide. You can ascend Half Dome as a 10 to 12-hour round trip. It is one of the best hikes in Yosemite, but it’s not for the faint of heart.
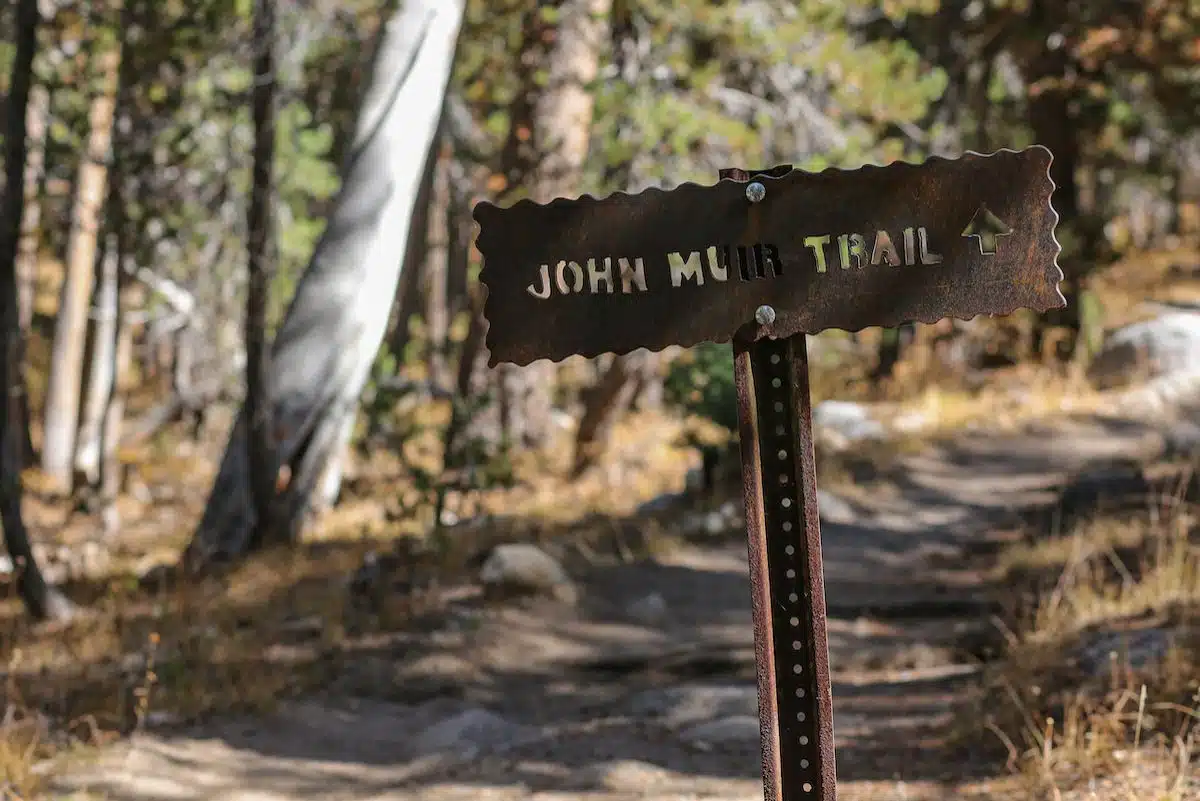
Cross Vernal Falls and Bridge on the John Muir Trail
The John Muir trail is one of the most famous hikes in all of California. And if you’re wondering why – it’s because it is by far one of the easiest hikes in Yosemite. But don’t let the ease of the hike fool you. This trail still delivers picturesque views and scenery.
This trail can be tackled as a 3-day camping adventure through the entire forest or broken into segments if you want to explore a bit while hiking.
We recommend at least making it to Vernal Falls and Bridge, a beautifully picturesque crossing partway through the trail. Snap a photo of this pretty clearing and head towards Glacier Point for the final stretch of your Yosemite tour.
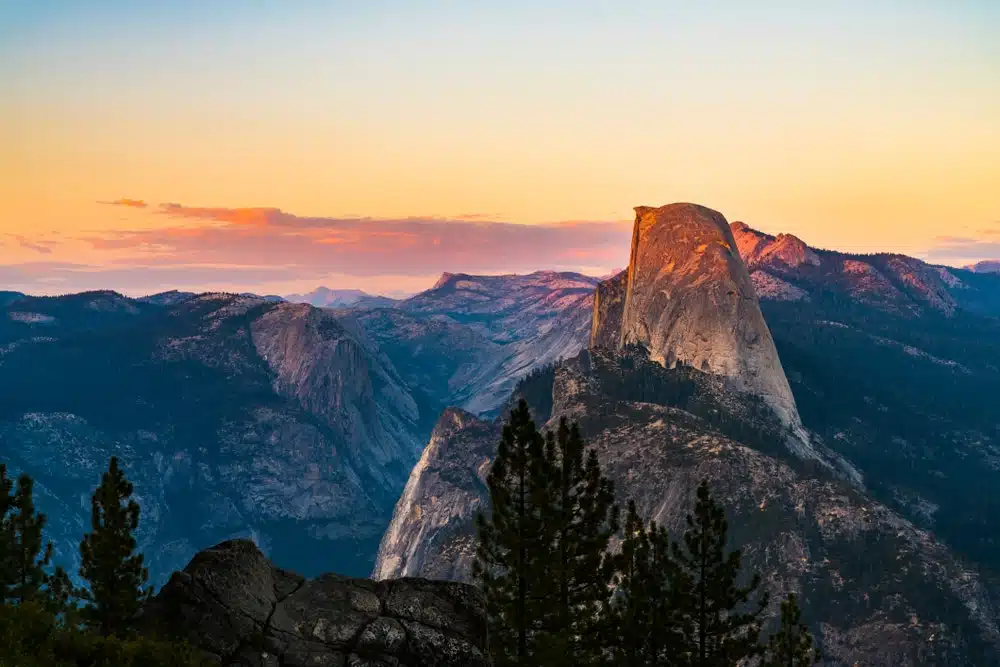
Hike to Glacier Point (& Admire the View)
End your three days in Yosemite in style, with a late afternoon hike to Glacier Point. For the ultimate views of the entire valley, no lookout point comes close to Glacier Point – sitting at 975 metres high, you’ll be seeing Yosemite Valley in an unparalleled way.
For those hiking fanatics looking for a good challenge, Glacier Point acts as either the start or end of three of the most popular hikes in the valley. These are the Four Mile Trail, Panorama Trail, and the Pohono Trail. If you’re looking to tackle one of these, I suggest getting an earlier start on the day so you’re not hiking after the sun goes down.
Otherwise, if your legs are sore and your heart is full, head back down to your hotel to grab a final dinner before saying a teary goodbye to Yosemite.
How to Adapt Your Yosemite Itinerary If You Have More or Less Time
The wonderful thing about Yosemite is that the park caters to any type of trip. While the above itinerary is the best way to see Yosemite in 3 days, feel free to adjust this to your needs and wants.
A great 5-day Yosemite national park itinerary can include a longer 13-hour National Park Tour. Beyond that, you can explore the many other attractions – and opt for a private guided tour of the park while you’re at it.
As well as this, there are so many hikes that you can take if you find yourself with a free morning. This itinerary really only scratches the surface on Yosemite must-dos.
If you find yourself with only a day or two to spare in Yosemite, there is a self-guided audio tour making exploration and experience easy as part of a Yosemite 1 day itinerary.
I would recommend making Yosemite Valley, El Capitan, Mariposa Grove, and Half Dome a priority – these can be done in a (very jam-packed) day.
Yosemite Itinerary – Map
Discover More Yosemite Guides
Love This? Save and Share on Pinterest
