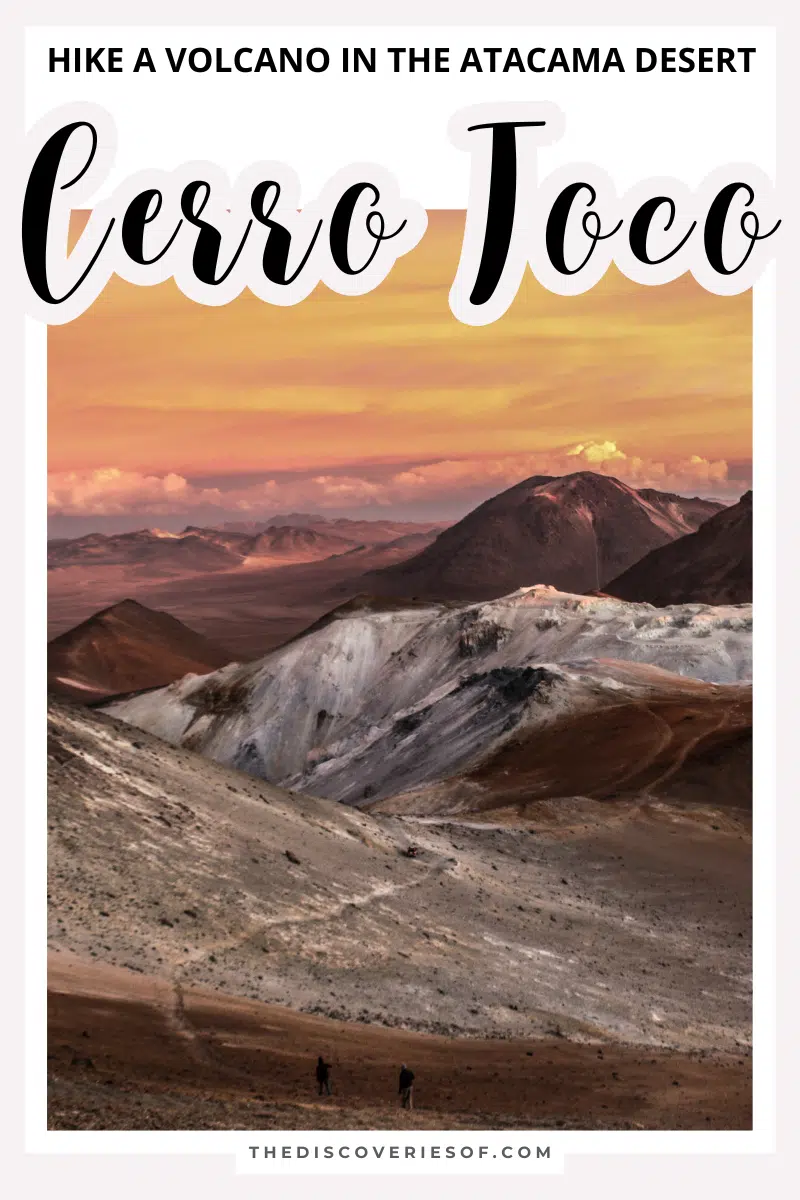
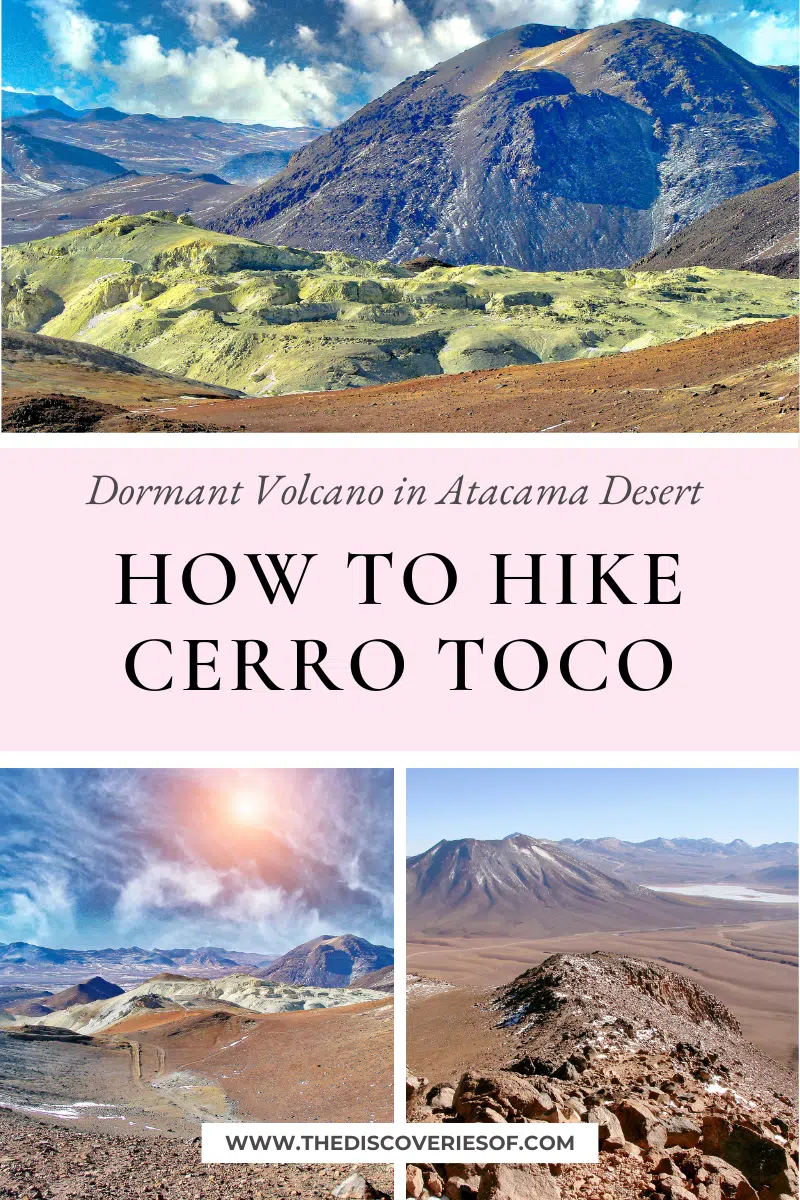
Ready to tackle the Cerro Toco Hike? Here’s what you need to know before you go.
When I arrived in Chile’s Atacama Desert, I thought I’d be taking it easy. Settling in for the next 9 days, I organized a few group tours to the surrounding desert regions and kicked back with a book in my free time.
But, when I saw a sign outside one of the agencies in town for a hike to the summit of Cerro Toco (a nearby volcano!), I couldn’t help but wander inside and inquire.
The agency was on the far side of town, on the very end of the main street, Caracoles, near the bus station. Later, I found out, the agency was called Cumbres 6000. As soon as I entered the room, I was greeted by a man named Rad.
Rad told me that the Cerro Toco hike was totally incredible, but that it required some physical preparation in order to be able to summit it.
Lots of people, he said, get altitude sickness before they ever reach the summit. And with a summit of 5,604 meters (that’s 18,386 feet, for you American folks), it was DEFINITELY the highest altitude I’d ever even thought of hiking.
But, you know, crazy Kay decided that it would be a great idea to dive in headfirst, and I booked my tour on the spot for a few days later.
After agonizing over WHAT THE %$#% I’D JUST DONE for about 2 hours, I accepted the challenge my impulsive self had given me. Cerro Toco, let’s do this.
Tackling the Cerro Toco Hike: A 18,386-Foot Summit in the Atacama Desert
After doing a bit more research, I learned that Cerro Toco is a dormant volcano summit located on the border of Bolivia and Chile.
It’s one of dozens of volcanoes that dot the Atacama Desert, and one of the handful that you can actually climb. Like I mentioned before, its summit lies at a whopping 5,604 meters above sea level, meaning that it’s prime territory for altitude sickness.
To be honest, I was more drawn to climbing neighboring Lascar because it’s an actually active volcano (sorry, Mom!), but due to recent floods in the Atacama, the trails on almost all of the other volcanoes were closed. So, Cerro Toco it was.
I wasn’t about to go into my Cerro Toco hike unprepared, so I made sure to confirm with Rad all of the things I needed to do to get ready for the hike.
He mentioned going on some high-altitude tours in the days leading up to the hike (so I could acclimatize), drinking lots of water, and avoiding red meat for a day or two before the hike.
And, although I’m usually not really into tours, I was thankful I’d booked a tour with a reputable company. What if I hiked it solo and got such bad altitude sickness I couldn’t walk? What if I fell from the high winds?
There were too many unknowns for me to feel safe DIY-ing this trip, and in the end, I was really glad I chose to go with a group and a guide.
Preparing for the Cerro Toco Hike
In the days before the hike I did exactly as Rad said: I went on two high-altitude (4,000+ meters) tours, drank a LOT of water, and avoided red meat.
The tours I chose were to Geysers del Tatio and to Piedras Rojas, a stunning high-altitude salt lagoon. There are a handful of other tours in the stunning landscapes of the Atacama you can go on that reach higher altitudes, like the Lagunas Escondidas tour.
Additionally, I bought and brought my own snacks, even though the tour operator provided them. I also brought tons of cold water in my beloved thermal water bottle, because I knew I’d get super dehydrated and cold water would give me the physical and psychological boost I needed on the trek.
Backpack weight was also a huge concern as well. Here’s what I brought with me on the Cerro Toco hike:
- Merino wool base layer, down puffer, and waterproof jacket
- Leggings & lightweight hiking pants
- Two small bags of peanuts
- 40 oz of water in a temperature controlled water bottle
- Mirrorless camera
- Lightweight tripod
Lastly, I made two friends in San Pedro de Atacama, Justin and Gabriel (from Australia and Brazil) who opted to come with me on the trek.
Trekking with buddies made the whole experience more enjoyable and more comforting, and I’d strongly recommend going with a friend (or a fellow hostel guest) if you can.
The Challenge: Hiking to the Summit of Cerro Toco
Setting off on the Cerro Toco Hike
On the morning of our hike, our guide picked us up in his 4×4 around 8:00 AM. We picked up another couple and we were on our way!
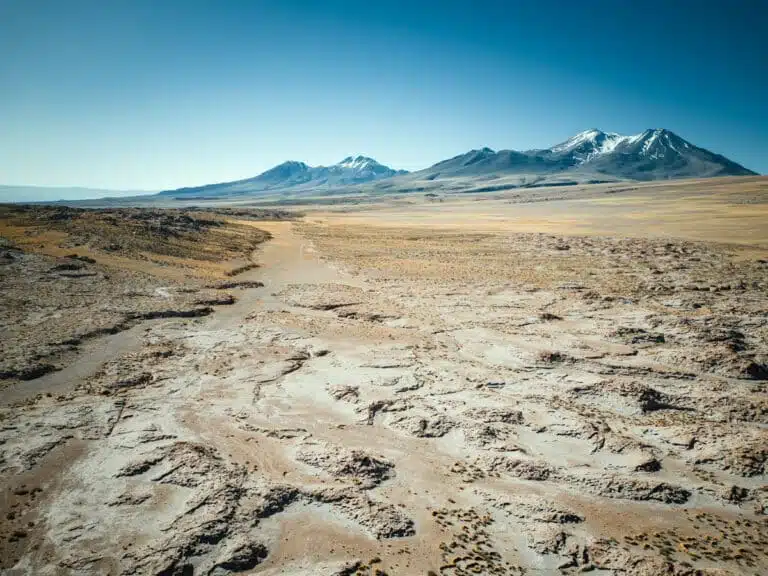
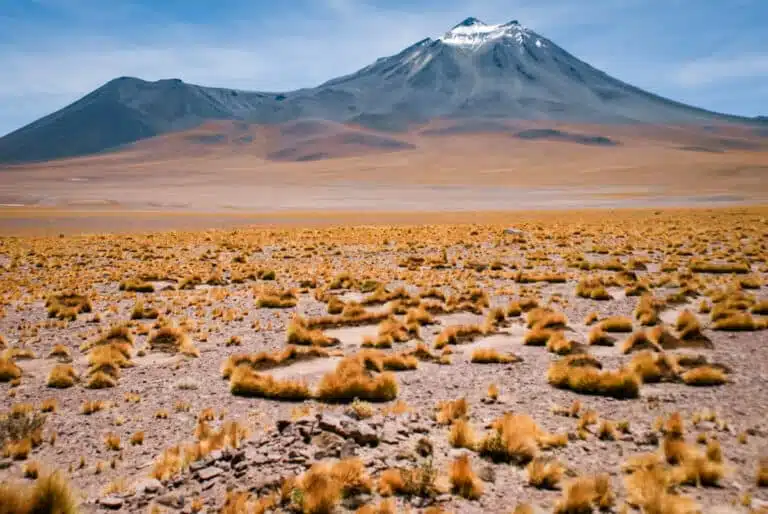
The ride to the trailhead passed by snow-capped mountains and vast desert plains, until we finally started driving up a steep, gravel trail with a bunch of switchbacks on our way to the trail. We definitely needed that 4WD power as we struggled our way up the mountain.
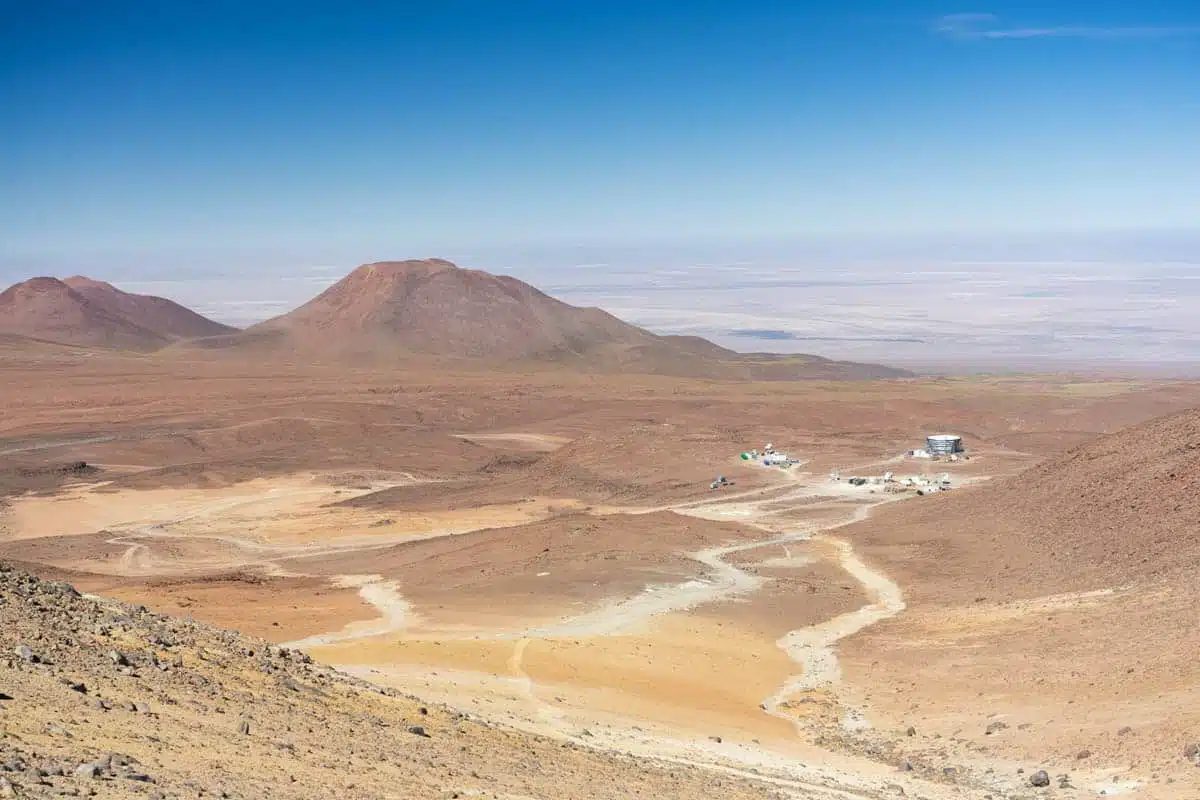
On the way, we passed by a small observatory with some really high-tech looking telescopes. Thanks to its altitude and lack of precipitation, the Atacama Desert is actually one of the best places in the world to go stargazing!
TMI moment: Altitude makes you have to pee. It’s confirmed. I was definitely about to burst open in the car on the way up the mountain, and our driver said he was unable to stop.
SOOO if you have a small bladder, be sure to go – and go again – before you leave for the day. And avoid overdrinking water until you’re not in the car. And…there are a few big boulders near the trailhead that make for great, hidden peeing spots. Just FYI.
When we arrived at the trailhead, there were only 2-3 more cars there, which was nice because many of the other Atacama attractions were crawling with other people.
Our guide gave us a briefing on how to walk and breathe: take tiny steps and deep, fast breaths. He had us walk around and practice a bit, and we looked like a bunch of little robots walking around in circles and huffing and puffing.
Then, our guide distributed snacks and walking poles, and we were off.
The Ascent to Cerro Toco’s Peak
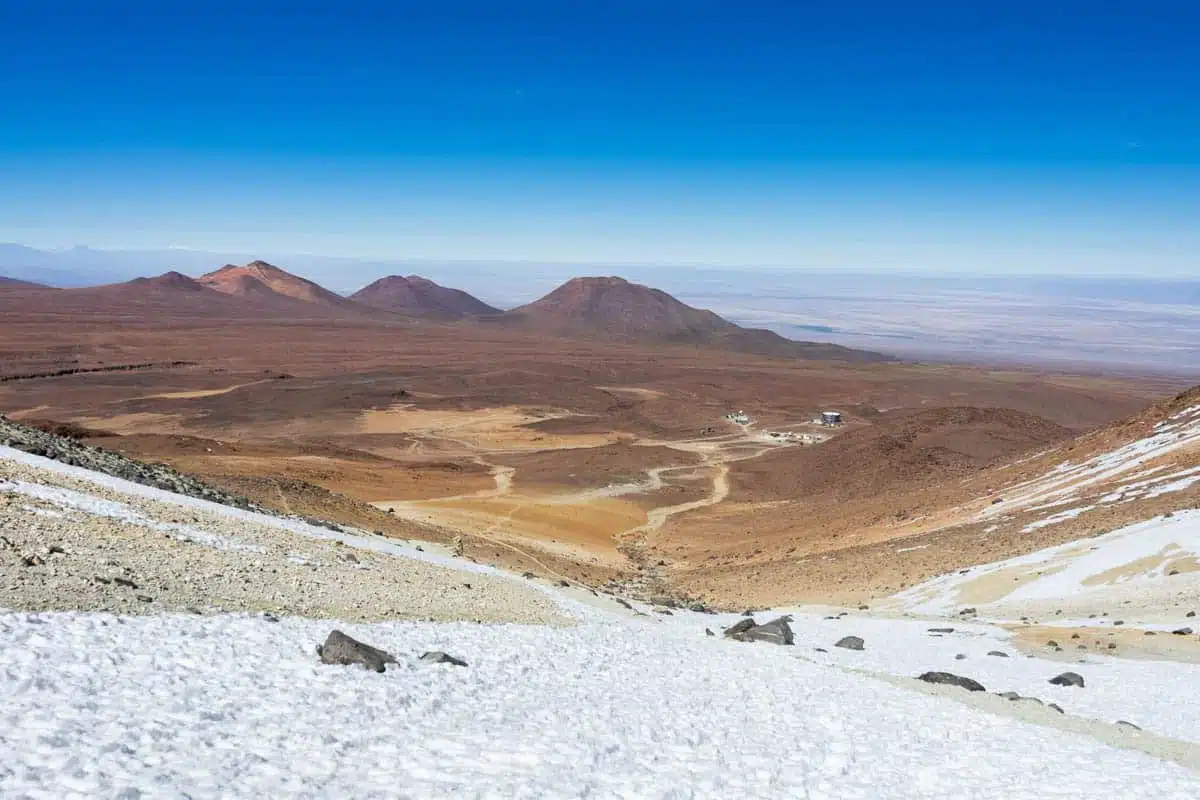
As we started our ascent of the mountain, I noticed two things: first, that the trail actually wasn’t very steep or difficult at all, and second, that my head was already starting to spin.
I almost fell over on my side within the first 10 minutes of hiking…it was a little scary. But I continued to take deep breaths and kept a steady pace, and eventually I acclimatized.
Unfortunately, some other members of our hiking group weren’t so lucky, and one ended up having to lie down on the ground because he was so dizzy and nauseous.
Altitude sickness can happen to anyone, and I was really lucky that I avoided it (for the most part).
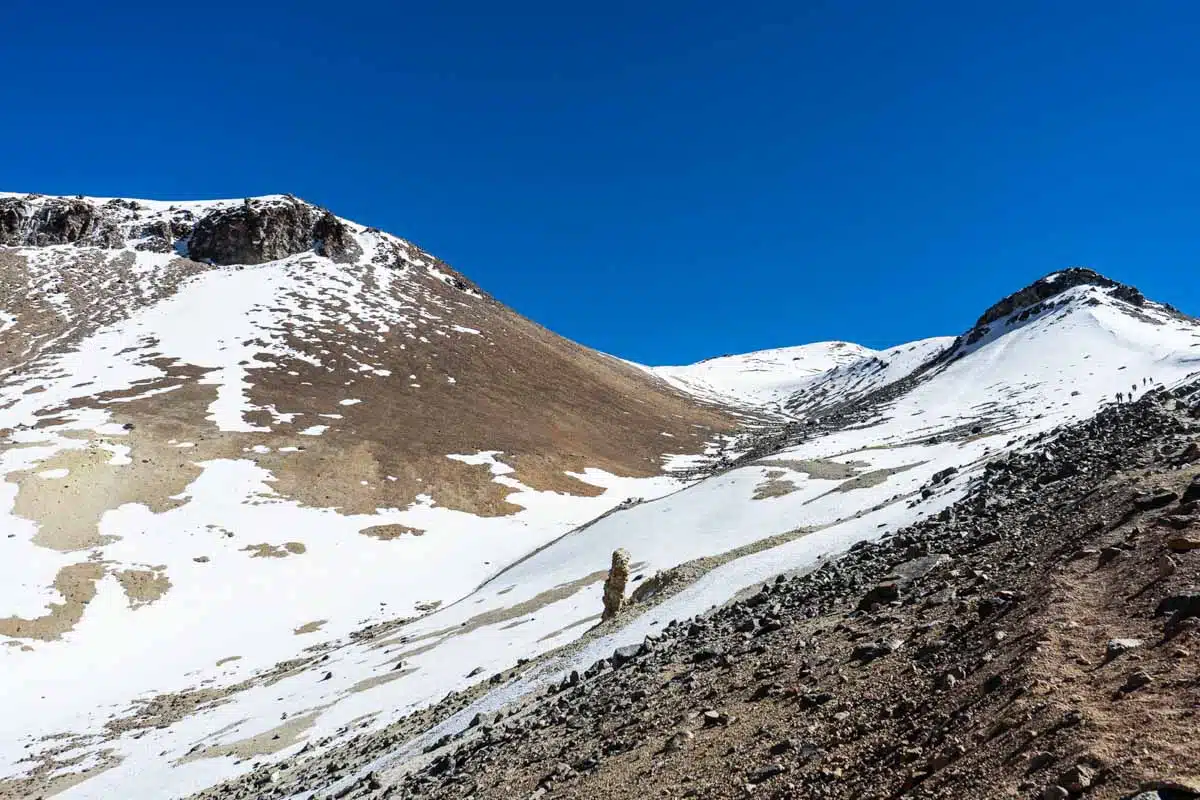
After about 30 minutes of walking, we hit our first patches of ice, which would cover almost the entire trail up to the summit.
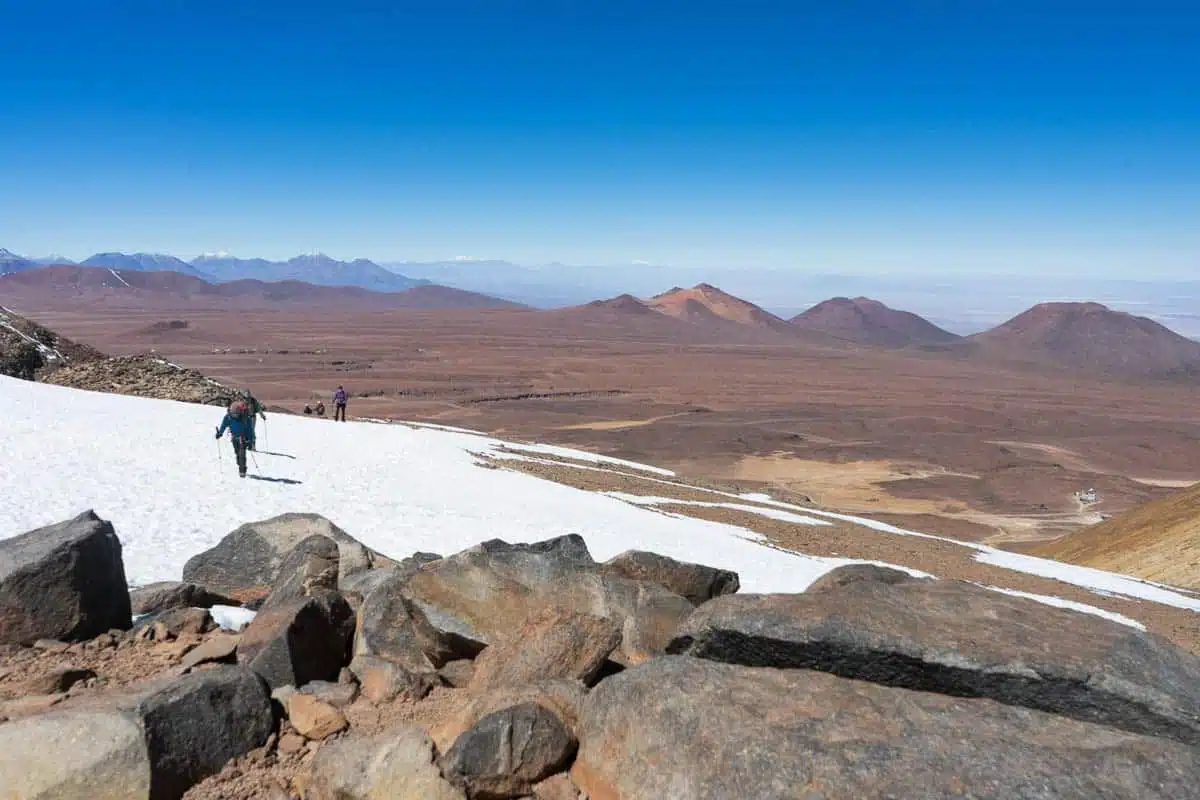
Our guide was proactive in giving us breaks, usually every 45 minutes or so. As we rose up the mountain, the views of the otherworldly Atacama landscapes became much more dramatic. The wind also picked up and the air became really, really cold.
Towards the top, we hit a steep patch of snow and ice, where we created our own switchbacks to climb to the summit.
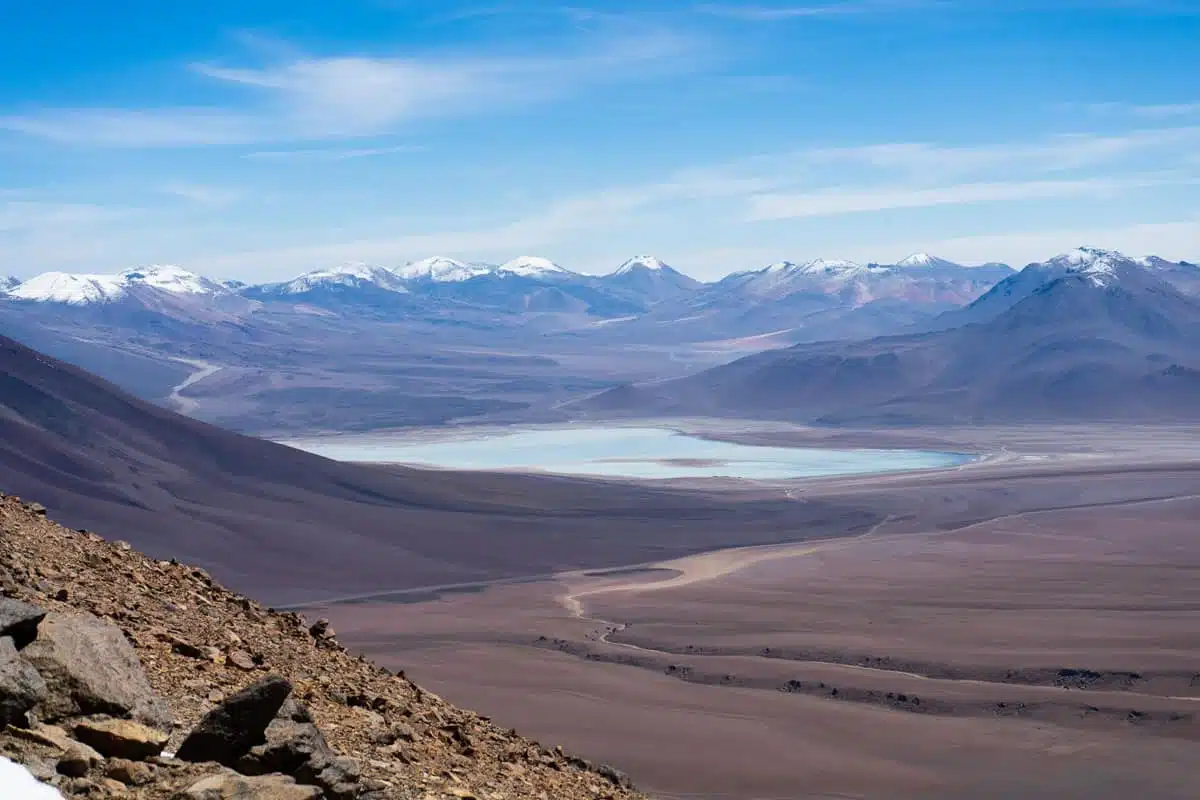
But once we reached the top of the ice patch, we could see over the mountain to Bolivia. It was absolutely breathtaking: one one side was Laguna Verde, and on the other side was the world-famous ALMA telescope array.
After ascending to that mountain pass, it was just 5 more minutes to the true summit of Cerro Toco. From the parking lot to the top of the summit, it took us about 2.5 hours (including 3 breaks).
The Summit
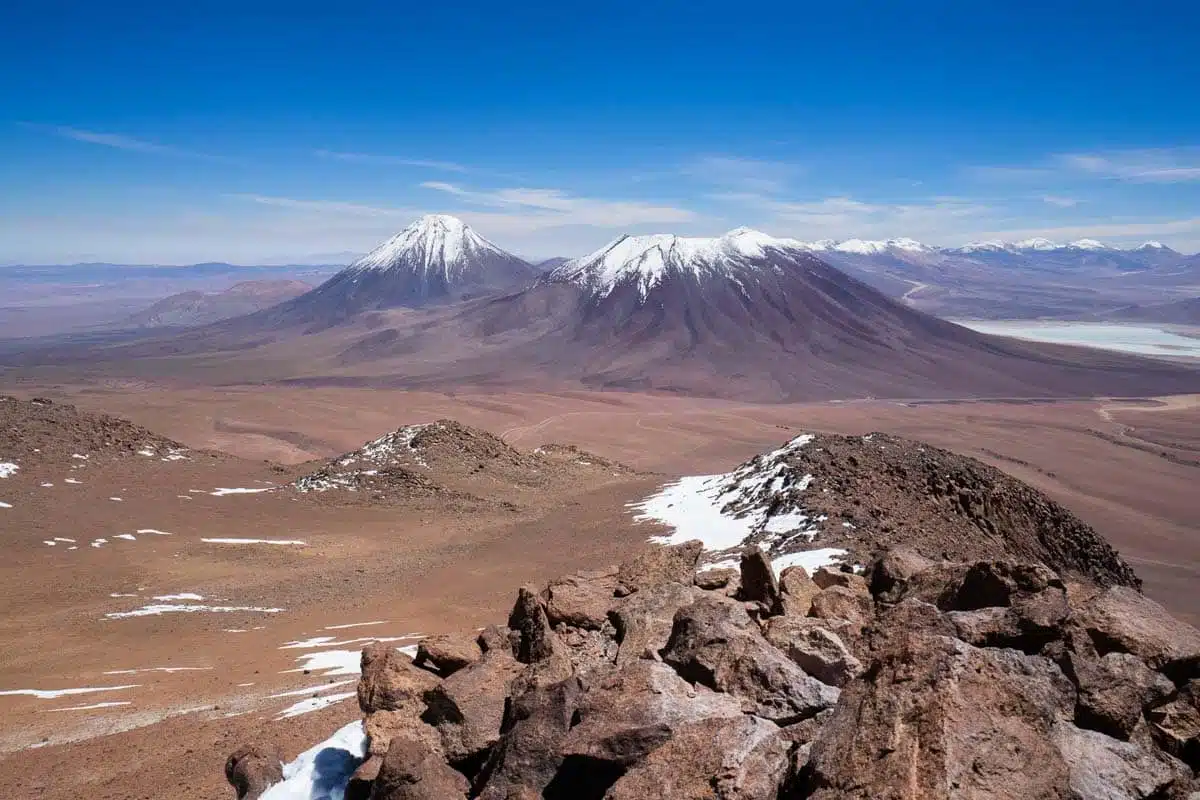
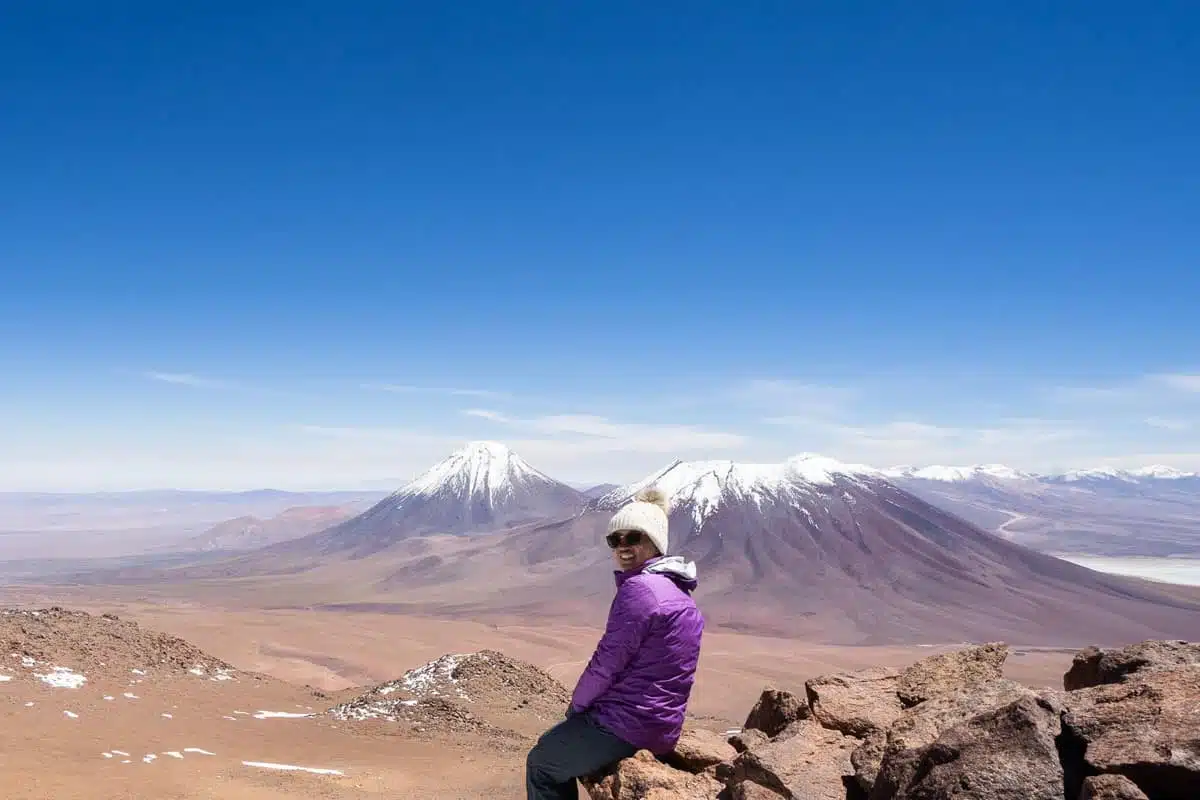
At the top, I felt like I was (literally) on top of the world. We could see over to the striking Licancabur Volcano, down into the valleys of the Bolivian border, and over across the rest of Cerro Toco.
As I stood there, panting, I realized that the reward of seeing these (literally) breathtaking views were worth the risk of climbing such to such a high-altitude.
Honestly, (sappy AF alert) I felt proud that I chose to go on this Cerro Toco hike and to stick with the climb until the summit. Being on the highest altitude point I’ve ever experienced in my life left me with a sweeping feeling of accomplishment and satisfaction. I hit a new milestone, people! I CLIMBED TO 5,600 METERS!
I guess, now, it’s time to top 6,000.
After basking in our hiking glory, we departed back down the mountain for the car.
From the summit back down to the parking lot, it took an additional hour or so over the steep icy trails and then over gravel. Once I got back to the town, my friends and I celebrated with a bottle of wine and lots of happy vibes.
Overall, I’d say the hike was my favorite part of being in the Atacama Desert.
No, it wasn’t terribly hard and no, it wasn’t terribly long, but it was really fun to get away from the crowds for a day and climb up to the top of a dormant volcano.
For travelers who have some experience hiking at altitude, I would wholeheartedly recommend summitting Cerro Toco. It’s a fun half-day activity that will lead you to some really awe-inspiring views.
Can you DIY your Cerro Toco hike?
Technically, yes.
I’ve read some reviews on TripAdvisor of people who have DIYed the hike and really enjoyed it. You could simply rent a 4×4/4WD car in San Pedro de Atacama, drive to the trailhead, and get started.
The trailhead’s GPS coordinates are approximately -22.9581849, -67.7872844.
However, the trails are often covered with ice and can be slippery and somewhat difficult to follow. Plus, anything can happen while you’re up on the mountain, so if you go alone, you run the risk of running into trouble without any assistance or cell coverage.
If you’re a beginner hiker or a solo hiker, I would strongly, strongly advise against going on your own. The winds at the top of the mountain can be dangerously strong, and altitude sickness is always a concern, no matter how physically fit you are.
Tour guides are trained to handle tough situations like weather problems, altitude sickness, injury, and more, and it’s best to go with a trained professional to a summit at this high altitude.
How to Do the Cerro Toco Hike: Step by Step
Book Your Hike
You can technically DIY your Cerro Toco hike, but I will mention that I’m really glad I went with a guide, especially as a solo traveler.
The trails are slippery and covered with snow and ice, and it was comforting to have an expert there to help in case anything went wrong (which, thankfully, nothing did). However, I can’t really recommend an agency one way or another.
I went with Cumbres 6000, frankly, because it was the first one I saw and the price seemed a little high but fairly reasonable for a high-altitude hike.
My tour cost 70,000 CLP (~$107 USD). I appreciated the thorough briefing Rad gave me beforehand, but I’m not sure that I liked how our guide handled the one very sick person in our group. I’ve heard that there’s another tour agent, Vulcano Expediciones, that also offers the Cerro Toco hiking tour for a lower price. They have better reviews on TripAdvisor, FWIW.
Book Your Cerro Toco Hike in Advance
Watch Your Diet and Drink Lots of Water
In the days leading up to your trek, be sure to eat lots of carbs and vegetables, and avoid red meat. I’m not sure about the science behind this, but every tour operator that did high-altitude tours gave this recommendation, so I stuck with it. Each day before the trek, I drank at least 2-3 liters of water.
Go on a Coupe of High Altitude Tours Before You Hike
This one is arguably the most important preparation step you can take, because it helps your body acclimatize in a non-physical environment.
A high altitude tour, in the explanation by Rad, means that you’re going on a tour that is above 4,000 meters.
Some high-altitude tours I enjoyed in the Atacama Desert were Piedras Rojas and Geysers del Tatio.
Listen to Your Body
When you hike the trail on Cerro Toco, you might feel a bit light headed or dizzy at first. This is expected and normal. However, if you feel like you are going to vomit, or are so dizzy you cannot walk, NOTIFY YOUR GUIDE AND TAKE A REST.
On my tour, we had one group member get very, very sick. Fortunately, with the coaxing of our guide, he was still able to summit, but he really was not doing very well at the end of the hike.
If you feel really bad, don’t feel pressured to continue. It’s better to stay where you are or descend.
San Pedro de Atacama Travel Tips
How to Get to San Pedro de Atacama
From Santiago (SCL), fly to Calama Airport (CUC), then take a shared shuttle to San Pedro de Atacama, which takes ~1.5 hours.
Shuttles are the most cost effective way to travel to San Pedro from Calama Airport, and most shuttles have AC and comfortable seating. As there are limited shuttles to San Pedro each day, I strongly recommend booking your shuttle in advance.
Where to Stay in San Pedro de Atacama
There are tons of options for places to stay in San Pedro de Atacama, ranging from high-end luxury hotels to budget-friendly guesthouses and hostels.
On my last trip to San Pedro, I stayed at Hostal Campo Base and LOVED it. The rooms and bathrooms were clean, comfortable, and reasonably priced, and it was about a 10-minute walk from the town center and a 5-minute walk from the bus station. They have both dorms and private rooms, and I’d recommend staying there to any budget-conscious traveler.
However, if you’d prefer a more comfortable, high end accommodation, I’ve heard fantastic things about Hotel Pascual Andino. There’s a small pool (AMAZING for those hot desert afternoons), private terraces in each room, and beautifully-decorated rooms.
Click here to compare prices for accommodation in San Pedro de Atacama
Love This? Save and Share on Pinterest
